I wanted to share a bit about a fun past project I did, not the least because of who it was for and who I got to build it with!
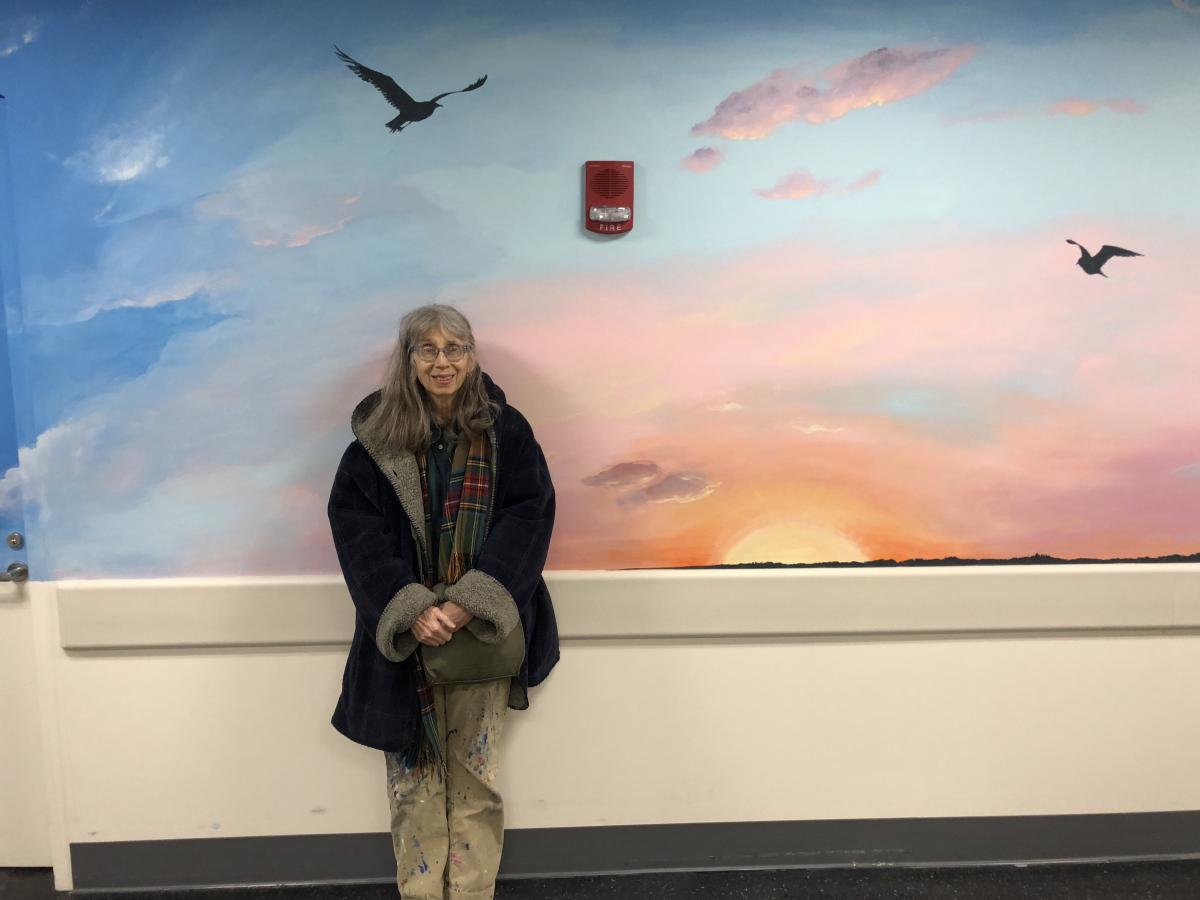
My mom, Lisa Samalin, is a phenomenal artist. She has been a painter for over 50 years, starting out as a textile designer, followed by a career as a muralist, and more recently focusing on her own fine art.
She got into mural painting by starting out custom painting small boxes and found furniture. In New York City it is not difficult to find furniture in good condition on the street, left for the trash. Add in yard sales and thrift shops (shopping at which was most of my childhood growing up) and you have a seemingly limitless supply of found and used furniture, much of which she has turned into beautiful pieces of functional art. .
Now my mom is a grandmother (and I am an uncle) with the arrival of her first grandchild, thanks to my little brother and his partner just over a year ago. This of course presented the opportunity to start making gifts for the wee baby Oliver, and we jumped right in with this children’s set!
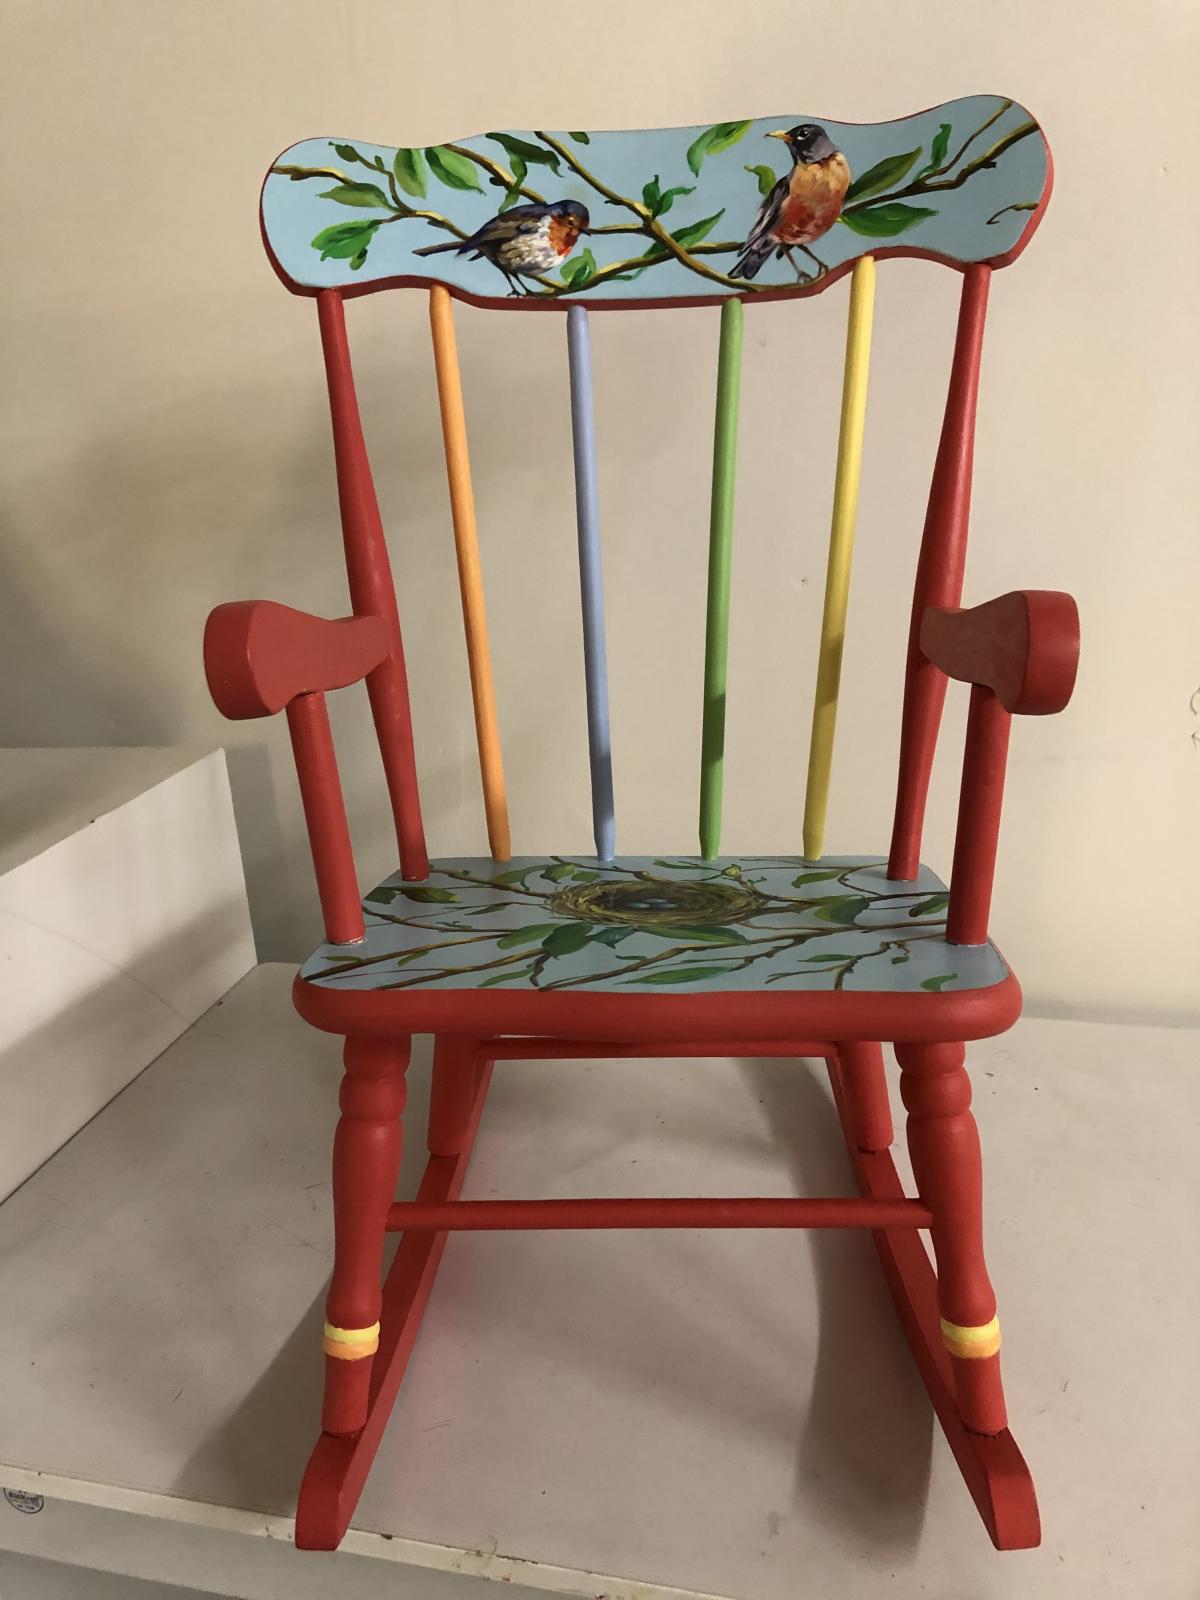
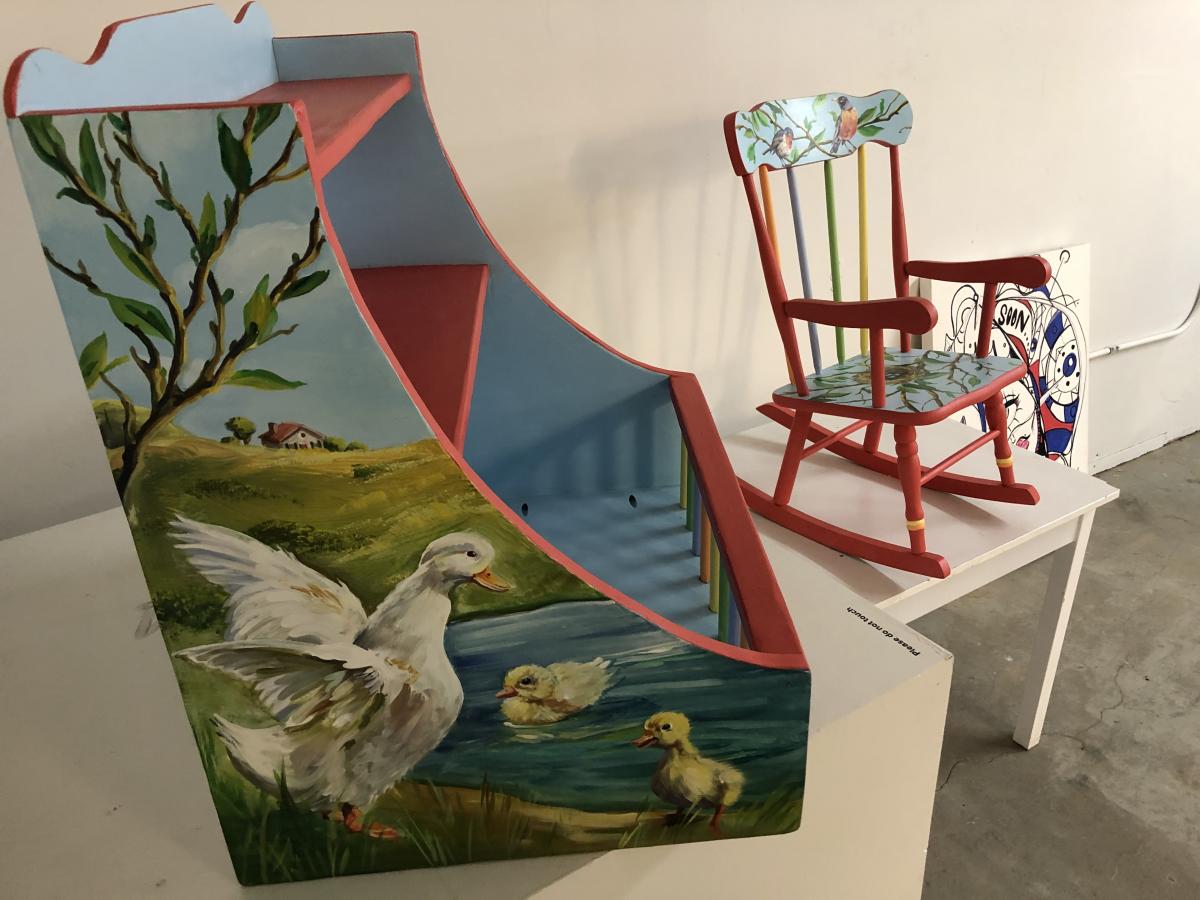
The rocking chair I cannot claim, as it was one of the above-mentioned pieces found somewhere. My mom painted it and felt like it needed something else. That’s where I came in. I offered to try and build something to go with the chair that she could paint, and after a lot of discussion we settled on a bookshelf/toy storage piece.
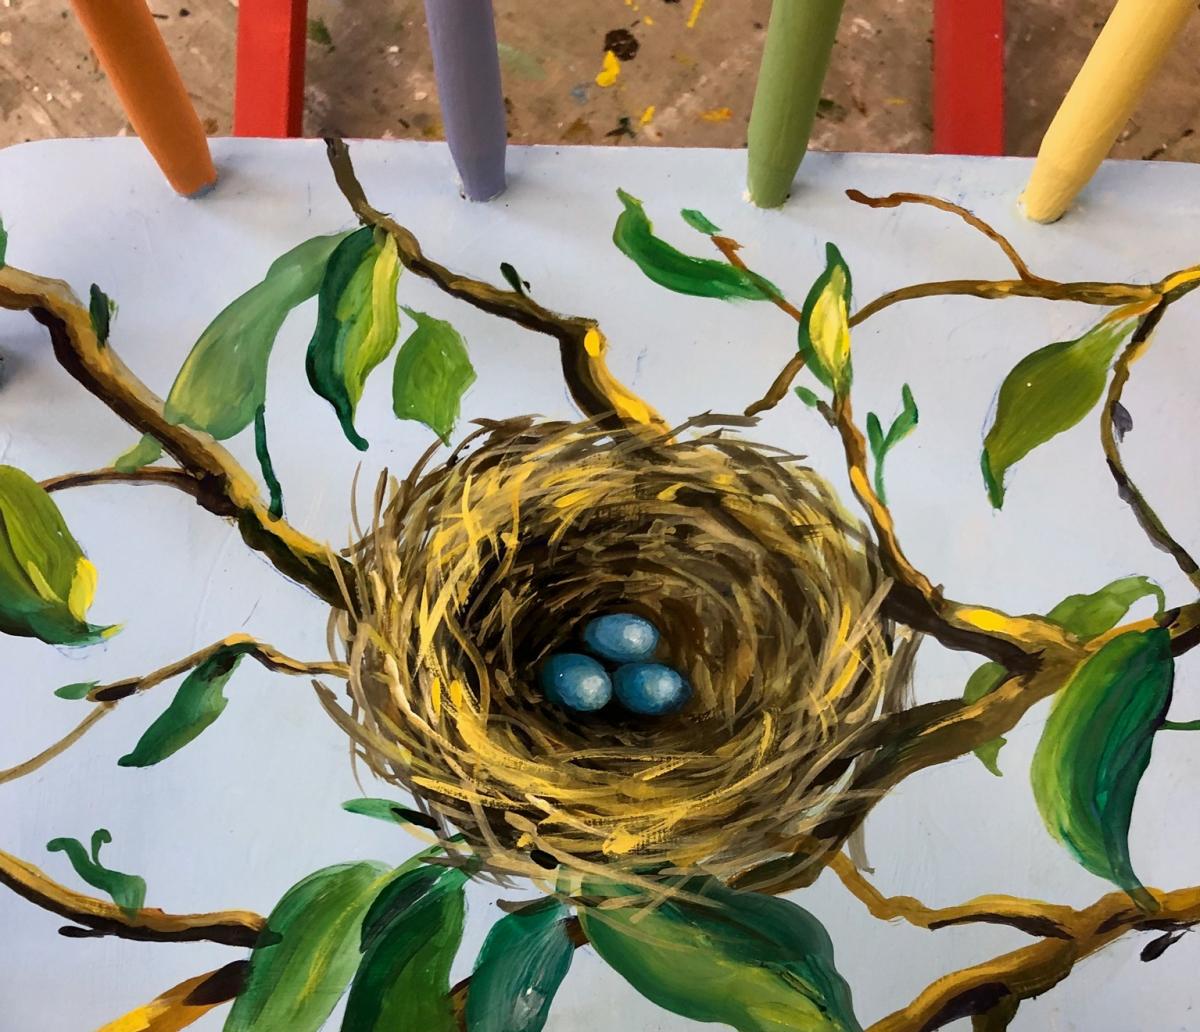
This was my first opportunity to try and design something that matched a particular look and profile. It was a bit of a challenge but not too bad as mom and I worked it out together. We decided to copy the curved profile of the top of the rocking chair, the multi-colored dowels that make up the back of the chair, of course the painting themes of animal parents and children, and the overall color scheme.
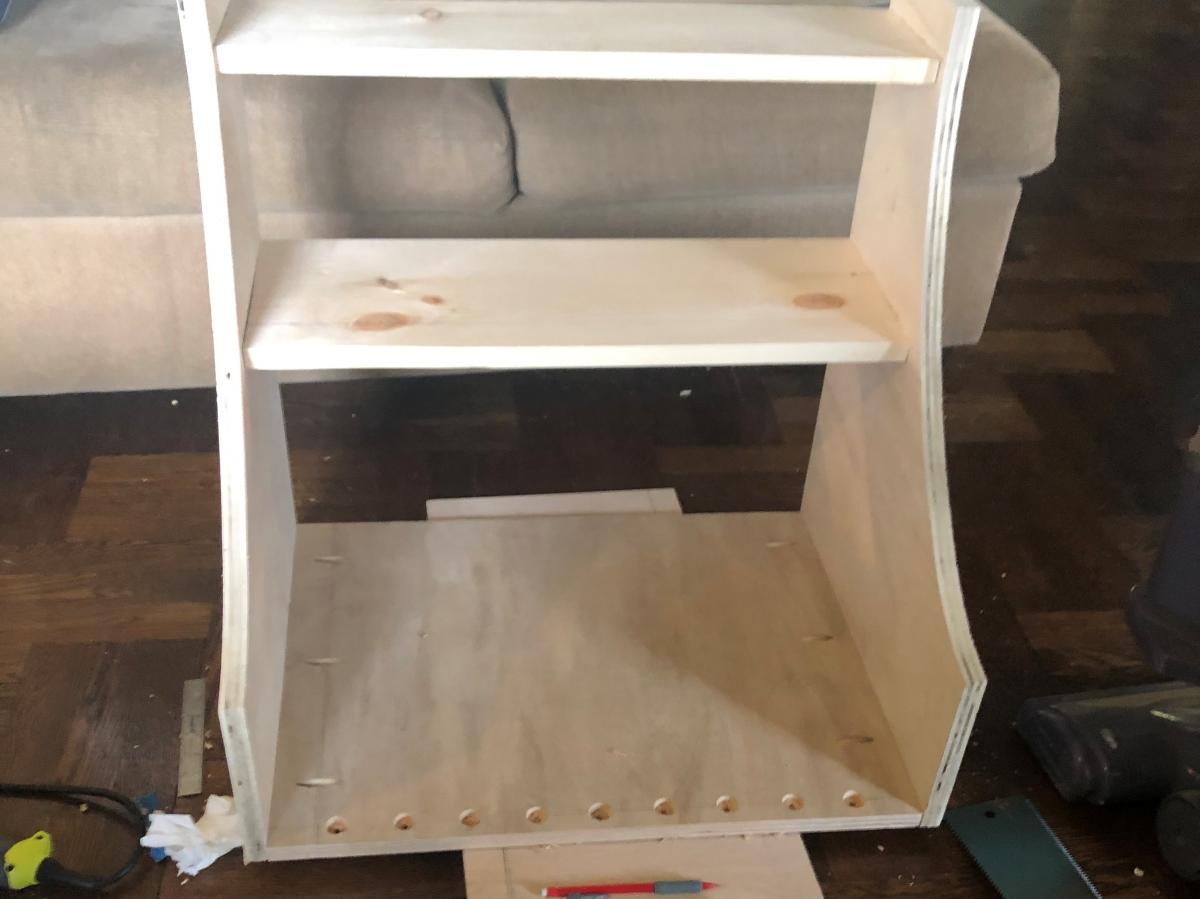
Ah NYC life, building the piece in the living room, never a dull moment.
I justified buying a new Festool Carvex jigsaw with this project. I bought 2 sheets of 3/4" plywood at the local big box store and got to work. I was able to clamp two pieces of ply together and cut them as one to make sure I got identical curves on the sides. I then drilled my pocket holes on the bottom and the bottoms of the shelves to go into the sides of the piece. I imagine most of you know about them, but if you are new to this stuff, check out pocket holes. They are a very strong joint and pretty idiot-proof to use. It basically involved drilling a pilot hole at a specific angle before connecting the pieces with screws. They can usually be used in such a way that the holes are not visible, or you can buy some plugs to cover up the holes. This was a simple piece for a little kid and was going to be completely painted, so I left the pocket holes as is.
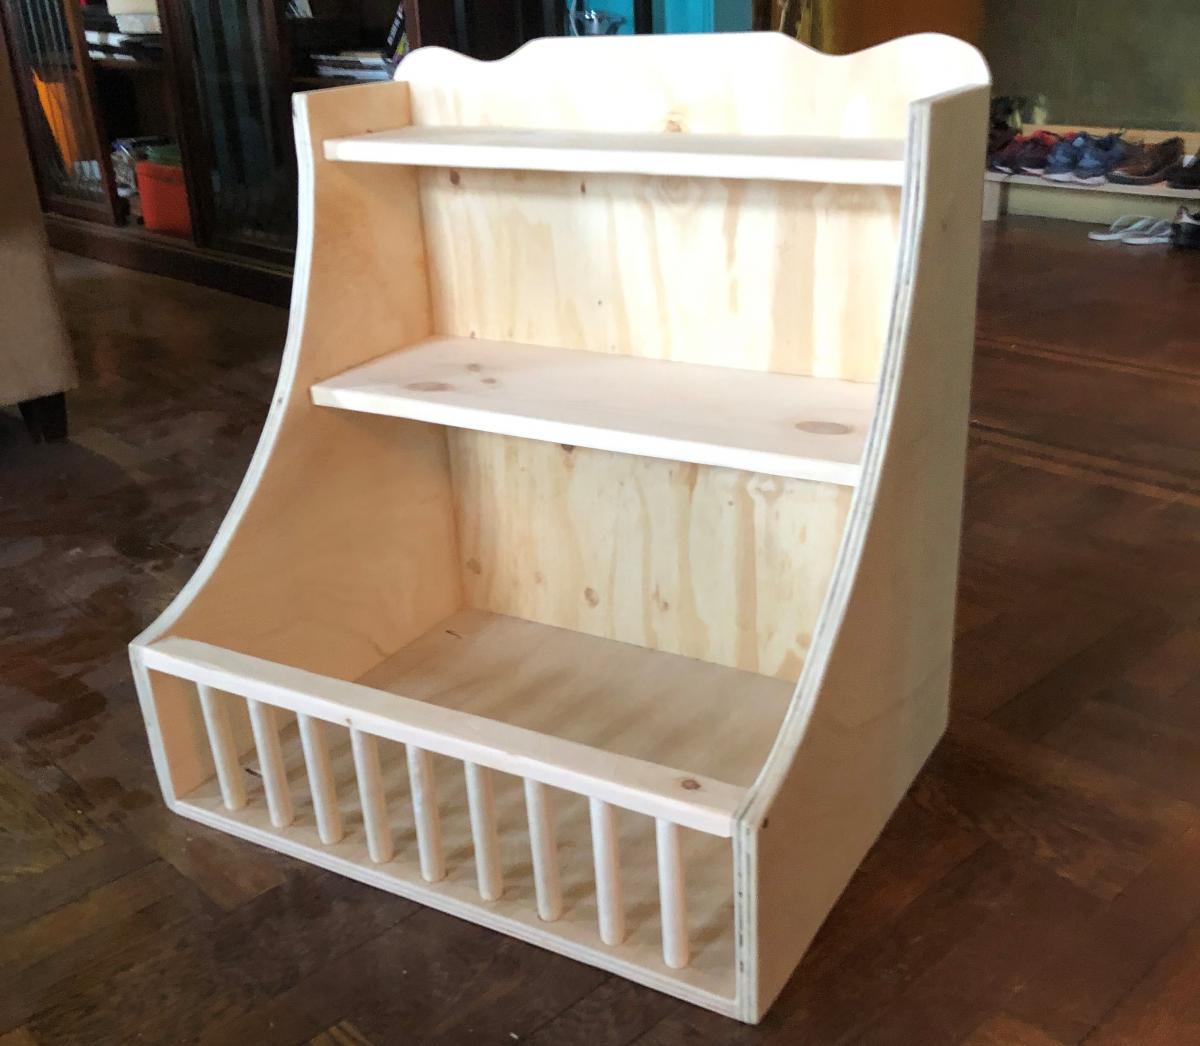
I used a forstner drill bit to make the holes for the front dowels. We went with dowels in front so that 1 - it would mirror the back of the rocking chair and 2 - so the kid could see the toys being held inside when sitting. Also gives it all a more open feel. One note - I googled children's furniture and safety to make sure I spaced the dowels close enough together so that Oliver wouldn’t get his wee head stuck dangerously between them! Forstner bits are great for making larger holes, and while usually used in a benchtop drill press, can be used in a handheld drill gun as well if you take care to keep steady while drilling. These holes were not deep so I felt comfortable doing just that.
It is starting to look like a thing!
Next I traced the profile my mom drew, copying the top back of the rocking chair onto a piece of ¼” plywood for the back and cut it out. I attached it to the sides, bottom, and shelves with small brad nails and a few screws, careful to drill pilot holes when screwing into the plywood ends to minimize the wood splitting. I cut down my dowels with a Japanese pull saw and held them in place while I attached the piece of 1” wood I had also drilled holes in to cap the top of the dowels and this was BY FAR the hardest part of the whole build. Holding those dowels in place while trying to put the whole thing together to screw in the top piece through the sides. Freaking nightmare. I tried to think of different ways of assembly - a jig of some sort, getting 9 friends to each hold a dowel (or 5 I guess to each hold 2), but in the end it came down to sweat and cursing up a blue streak. Please share ideas for this if you have them, but try not to rub it in too much if I missed something obvious. I wanted the dowels to have a bit of play and so did not use glue or screw them in. They are held strongly in place as is.
I then sanded the entire project, including taking care to break all the corners - anywhere sharp that could hurt someone small. Finally, it was off to mom’s studio for painting! After painting we finished it with Real Milk Paint’s non-toxic finishing cream, something my mom has been using more of lately. Easy to use and invisible, and offers the right level of protection.
I was excited as anyone to see the reveal - what my mom added to the piece through her painting. It is really magical - and even today I don’t believe that it is a piece I actually built that looks like this.
Duckies!
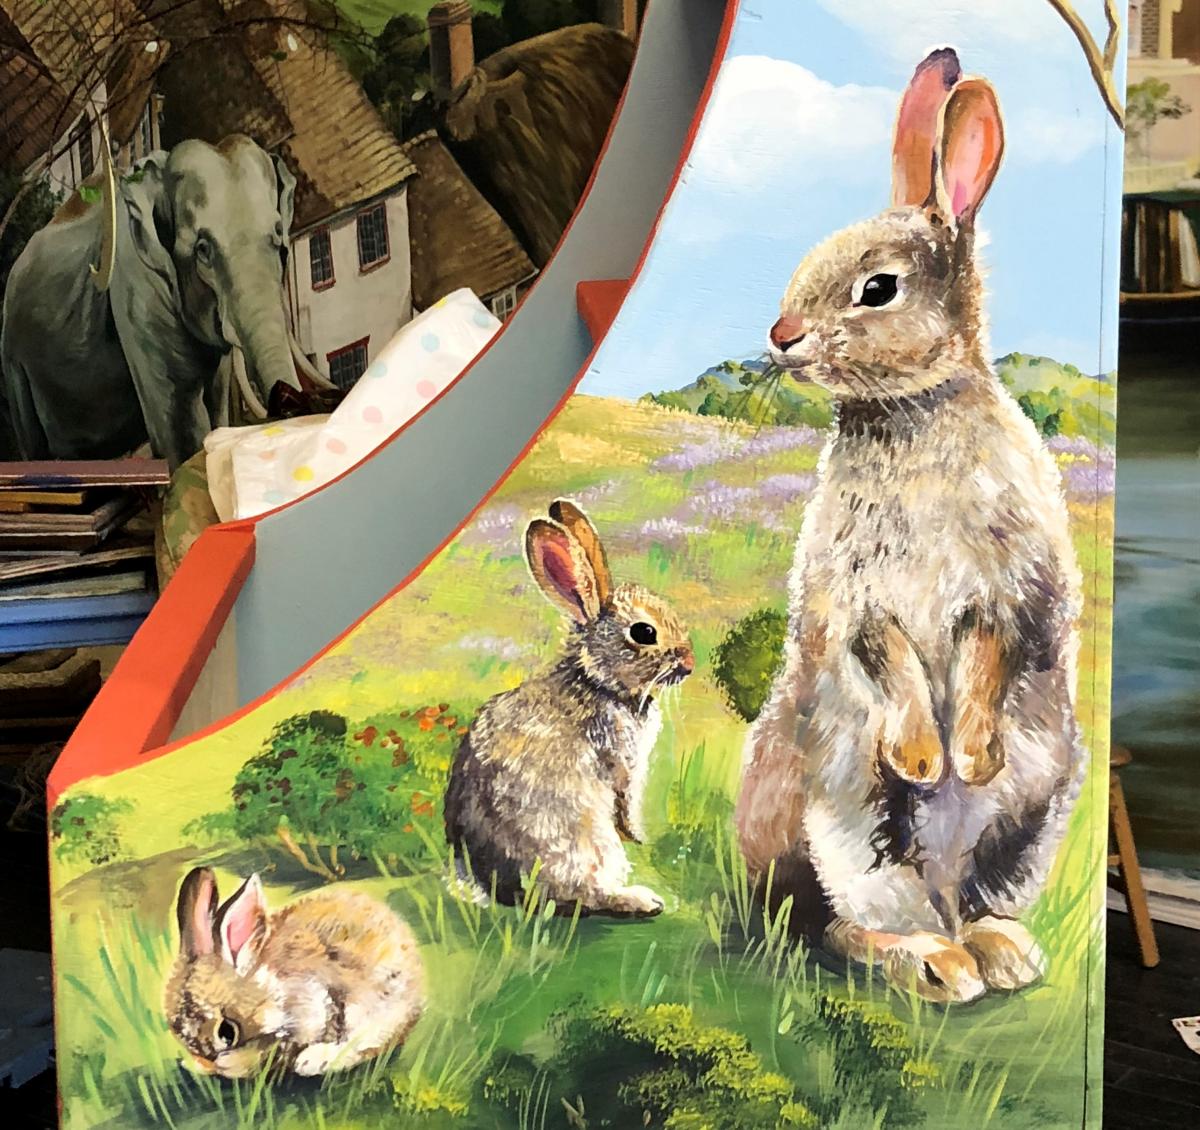
The piece in my mom’s studio, getting a bunny family.
Mom!
Join the conversation
07/03/2021 Tamika
These pieces are absolutely beautiful! Mrs. Samalin’s artistry is magnificent! Thanks for sharing.
07/07/2021 Bailey
Beautiful piece of work! You never know what’s going to happen when two talented artists get together!
07/08/2021 Joe
Thanks Tamika, and agreed! Just hope to be able to make things that are worthy of her painting moving forward!
07/11/2021 Joe
Thanks Bailey! Can’t hold a candle to my mom but working on it!


 Joel's Blog
 Built-It Blog
 Video Roundup
 Classes & Events
 Work Magazine
Joe S